Mike’s Retrofit Aircon Cruise Heated Seats ++

OK so I get,

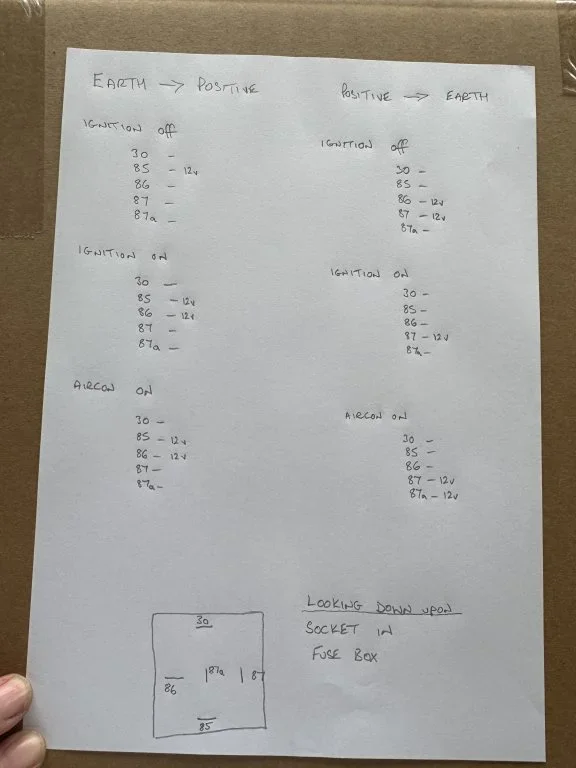
Ignition off - the only pin with 12v is pin 30, nothing on the others.

Ignition on - the only pin with 12v is pin 30, nothing on the others.

Ignition on & Aircon switched on 12v on pin 30 and pin 86, nothing on the others.

Ignition on & Aircon switched on & Engine running 14v on pin 30 and pin 86, nothing on the others.

At least my alternator is fine :whistle:


Happy to recheck if it is not what you expect, got a bit soggy on the drive in not so sunny Bolton.
 
Excellent- thank you and sorry you got wet!
We’re away in The New Forest celebrating our 40th wedding anniversary with the family this week so I won’t be able to check until Saturday.

Out of interest did you try checking from 12v positive to these pins as I think ( but am not sure) that switching the Aircon on could create a route to earth which would only show if you tested against the positive rather than to earth?
Don’t worry if one, or more, show floating values of voltages - this can be normal. The one I’m looking for is to show 12v to a pin that is a switched earth when the Aircon is switched on.
 
Last edited:
I'll try later in the week from the 12v positive jump start post under the bonnet to earth on the pins to see if there is any difference that way.
 
Brilliant , thank you.
I’m hoping that pin 85 changes to earth giving -12v from the positive terminal when you switch the Aircon on?
(No rush - I’m not back until Saturday.)
 
Last edited:
MickyG,

Please disregard post 161 completely.
My mistake I got the relay positions confused when turning over the relay to check terminal numbers.

I have now checked again (double & triple).

The image below should help, the relay terminal numbers are how the socket looks as you look directly at it with the relay removed.
I hope that makes sense?

Earth to positive column = earth taken from chassis/body and positive probe into terminal number indicated.
Positive to earth column = positive taken from Jump start terminal and earth probe into indicated terminal number.

Again I hope that makes sense.
 

Attachments

  • IMG_1898.webp
    IMG_1898.webp
    36 KB · Views: 213
MickyG,

Please disregard post 161 completely.
My mistake I got the relay positions confused when turning over the relay to check terminal numbers.

I have now checked again (double & triple).

The image below should help, the relay terminal numbers are how the socket looks as you look directly at it with the relay removed.
I hope that makes sense?

Earth to positive column = earth taken from chassis/body and positive probe into terminal number indicated.
Positive to earth column = positive taken from Jump start terminal and earth probe into indicated terminal number.

Again I hope that makes sense.
Brilliant - thank you. I’ll eagerly test my car tomorrow
 
YABBA DABBA DOOOOOO!
🤗🤗🤗🤗🤗
🥂🥂🥂🥂🥂
After MONTHS and I seriously mean MONTHS of circuit diagnosis I finally have a fully functioning Airconditioning System in my Z3!
Many thanks to all that offered help and advice, particularly TiggR_R1 for testing circuit voltages and showing me the correct relays that I should have fitted.
Ultimately I have to give massive praise to AI and ChatGPT. I know very little about electrics and used it extensively to keep testing new options and behaviours.

For anyone still interested, I can confirm it is absolutely a plug and play retrofit - provided all the components fitted work as they should!
My problem was the Aircon pressure switch fitted to the drier AND the evaporator controller were both faulty.
Hard lesson, never believe a seller when they tell you it all works, and make sure you check it does indeed work before swapping: I could have had this buttoned up shortly after Christmas last year with working components.

To finally put this part of the project to bed, I can confirm retrofitting a complete manual Aircon system to one of the last pre-facelift Z3 2.8M52TUs (probably the most difficult Z3 to find reliable circuit diagrams and information electrically, as it sits across M52 through M52TU to M54 engined cars and only lasted 3 months before the facelift came in 04/1999 ) and is truly plug and play.
I managed to take the manual system from a facelift Z3 2.2 M54 and install it physically, without removing the engine, using the cabin switch, compressor back plate, compressor, and complete HVAC unit. I could have used the condenser, pressure switch, and auxiliary fan if they were in good order (they were not so I had to buy new), and as generally advised, fitted a new drier (be aware they come with different pipe fittings - check before ordering!).
Relays will be required to run the compressor, auxiliary slow and auxiliary fast fan. I was helped by TiggR_R1on this forum pointing out the Z3 2.2 relays are different from those I should be using.
The entire electrical loom is pre-fitted from the factory to accept the Aircon retrofit, so it truly is Plug and Play.

Happy days!🤗🤗🤗🤗🤗
I think I have earned a celebratory beer🍺
 
Last edited:
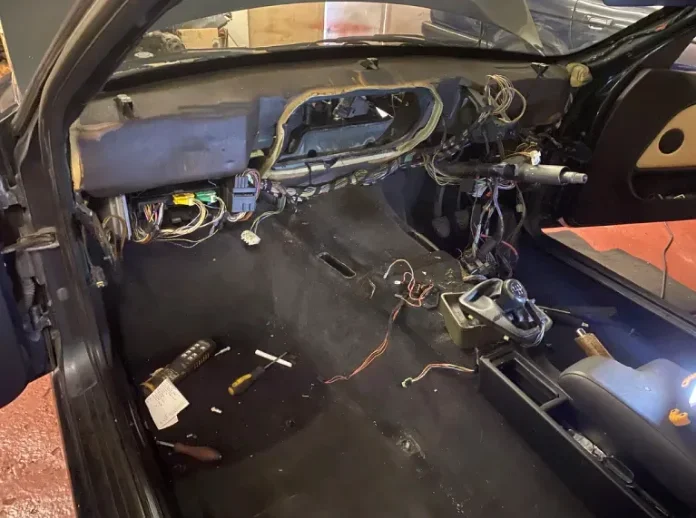
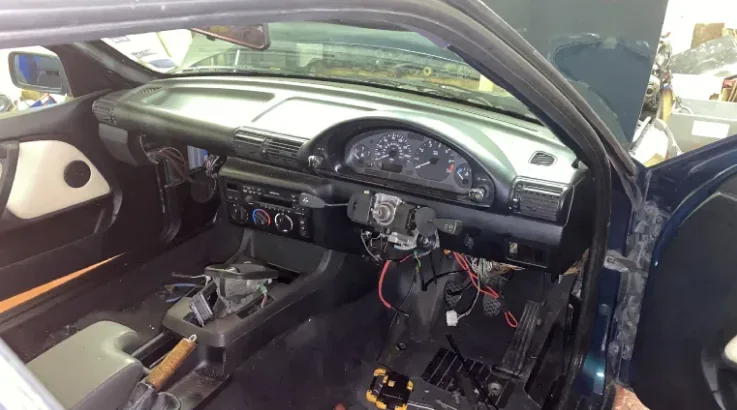
I've amassed the parts to retrofit air conditioning to my 1994 318ti Compact after a summer sweating like a **** in its black leather cocoon. I'm absolutely done with that sort of nonsense.
My bits came from a much newer car - a 1999 model but the wiring diagrams are similar - apart from the wires to the ECU. On a 94 car there are three, and five on a '99.
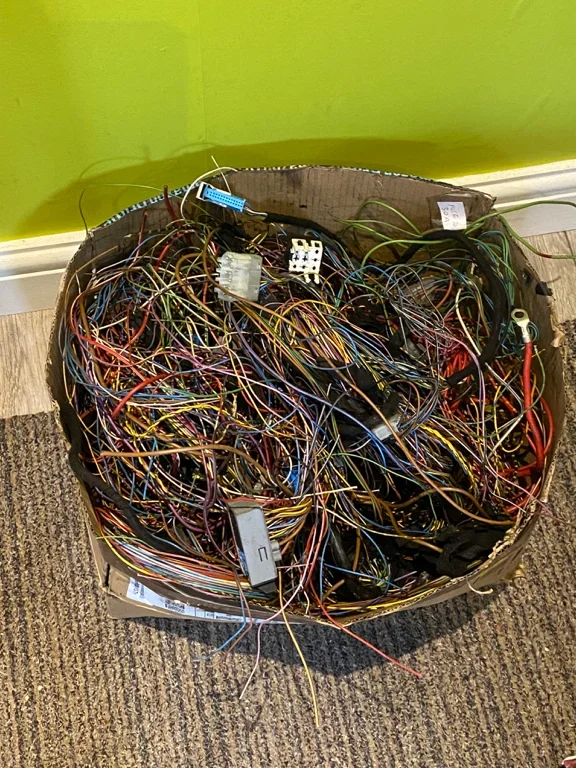
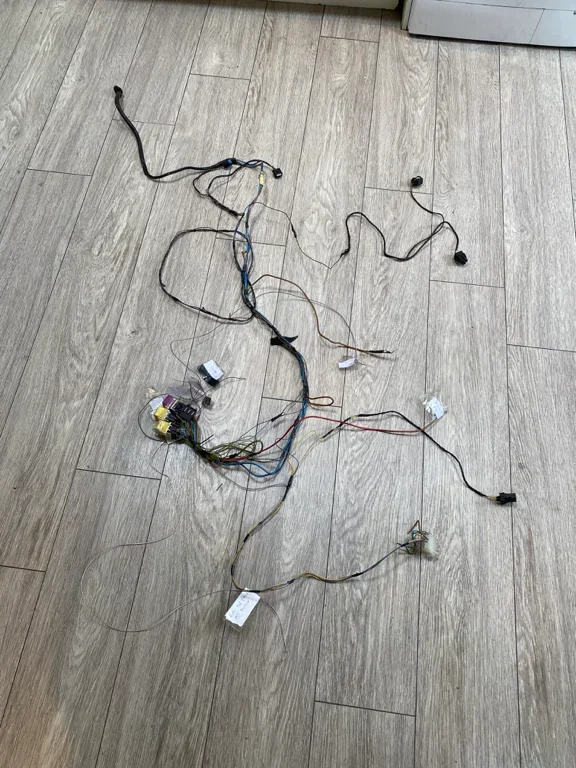
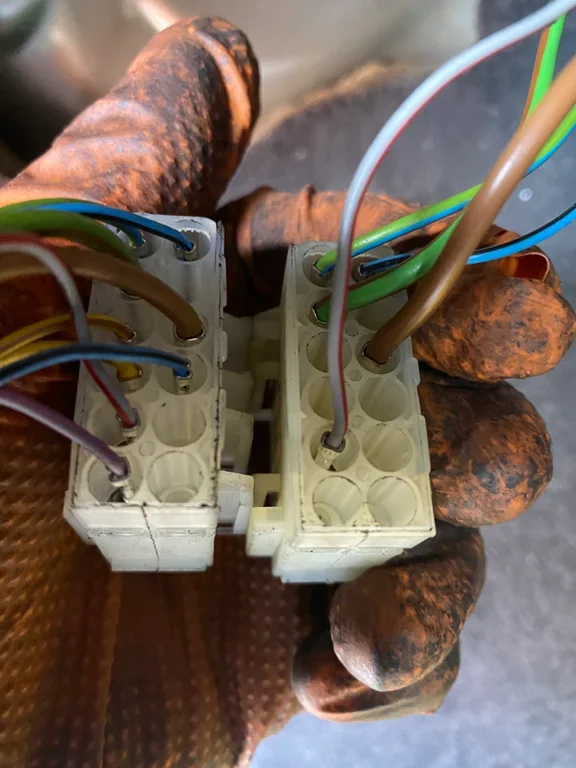
It's a winter project and I'm going to fit a new condenser and drier bottle (plus a host of new green O rings from BMW) but luckily the AC worked on the donor car. It's a dashboard out job and I could probably have the heater box, pipes, compressor and condenser fitted in a very long day, leaving wiring for another day. It looks like what I need to do is lay the 1999 Compact front wiring loom out as it would sit in the car, label what connector fits what and carefully separate what I actually need from what the car already has. The heater box wiring plug is the same and easily accessible with four wires to add to the loom plug - plus adding three extra relays and plugs into the fuse box and three or four fuses.
 
YABBA DABBA DOOOOOO!
🤗🤗🤗🤗🤗
🥂🥂🥂🥂🥂
After MONTHS and I seriously mean MONTHS of circuit diagnosis I finally have a fully functioning Airconditioning System in my Z3!
Many thanks to all that offered help and advice, particularly Triggr for testing circuit voltages and showing me the correct relays that I should have fitted.
Ultimately I have to give massive praise to AI and ChatGPT. I know very little about electrics and used it extensively to keep testing new options and behaviours.

For anyone still interested, I can confirm it is absolutely a plug and play retrofit - provided all the components fitted work as they should!
My problem was the Aircon pressure switch fitted to the drier AND the evaporator controller were both faulty.
Hard lesson, never believe a seller when they tell you it all works, and make sure you check it does indeed work before swapping: I could have had this buttoned up shortly after Christmas last year with working components.

To finally put this part of the project to bed, I can confirm retrofitting a complete manual Aircon system to one of the last pre-facelift Z3 2.8M52TUs (probably the most difficult Z3 electrically, as it sits across M52 through M52TU to M54 engined cars and circuitry ) and is plug and play.
I managed to take the system from a facelift Z3 2.2 M54 and install it physically, without removing the engine, using the compressor back plate, compressor, and complete HVAC unit. I could have used the condenser, pressure switch, and auxiliary fan if they were in good order (they were not so I had to buy new), and as generally advised, fitted a new drier (be aware they come with different pipe fittings - check before ordering!).
Relays will be required to run the compressor, auxiliary slow and auxiliary fast fan. I was helped by TriggR on this forum pointing out the Z3 2.2 relays are different from those I should be using.
The entire electrical loom is pre-fitted from the factory to accept the Sircon retrofit, so it truly is Plug and Play.

Happy days!🤗🤗🤗🤗🤗
I’m having a well earned celebratory beer🍺
I wondered where you were yesterday. Not at Birchgrove but playing with your a/c wiring.
 
I've amassed the parts to retrofit air conditioning to my 1994 318ti Compact after a summer sweating like a **** in its black leather cocoon. I'm absolutely done with that sort of nonsense.
My bits came from a much newer car - a 1999 model but the wiring diagrams are similar - apart from the wires to the ECU. On a 94 car there are three, and five on a '99.
It's a winter project and I'm going to fit a new condenser and drier bottle (plus a host of new green O rings from BMW) but luckily the AC worked on the donor car. It's a dashboard out job and I could probably have the heater box, pipes, compressor and condenser fitted in a very long day, leaving wiring for another day. It looks like what I need to do is lay the 1999 Compact front wiring loom out as it would sit in the car, label what connector fits what and carefully separate what I actually need from what the car already has. The heater box wiring plug is the same and easily accessible with four wires to add to the loom plug - plus adding three extra relays and plugs into the fuse box and three or four fuses.
Wow, that’s braver than my efforts.
Mechanically I think you are right it is reasonably straight forward,
( remember to close the recirculating flaps on the donor HVAC before you remove it :) otherwise it’s impossible to feed it into position in your car : removing the driver’s side headlight makes fitting the drier /compressor , pipes and electrics much easier.
I’m sure if you are methodical with the wiring you should be OK. At one point I was beginning to believe my ECU needed programming because the electrics were not behaving correctly, and later Z3 did require it: but my real issue turned out to be the two faulty components).
It might be worth seeing if you can use the earlier circuit wiring, as I suspect it will be more analogue and easier to wire, particularly if want to retain your original ECU?
 
Indeed. The E36 bulkhead is taller than the Z3 one but there are no plug and play connectors alas. The only differences are in the ECU wiring; three wires are the same; black/blue to the compressor relay, violet/grey to the control module in the heater box and the AC with and a black/grey wire to the pressure switch.
The later car adds;

Grey/violet to the double temp switch T3 (previously a standard switch)

Red/white to the normal speed fan relay T5 (previously fed from the pressure switch)

There will be a way around it.
 
Indeed. The E36 bulkhead is taller than the Z3 one but there are no plug and play connectors alas. The only differences are in the ECU wiring; three wires are the same; black/blue to the compressor relay, violet/grey to the control module in the heater box and the AC with and a black/grey wire to the pressure switch.
The later car adds;

Grey/violet to the double temp switch T3 (previously a standard switch)

Red/white to the normal speed fan relay T5 (previously fed from the pressure switch)

There will be a way around it.
The double temp switch probably stopped my system from exploding!
At times I was forcing the compressor to run, to understand the control circuitry, even though the auxiliary fan was not coming on immediately: as pressure built up the double switch cut the compressor feed and engaged the fast auxiliary fan. It’s more work to fit but I would strongly recommend it based on my experience.
Good luck and keep us posted.

PS : Do you ever come across E30 breakers with Aircon - I’d like to fit it to my E30 project with an M54 engine.
 
Back
Top