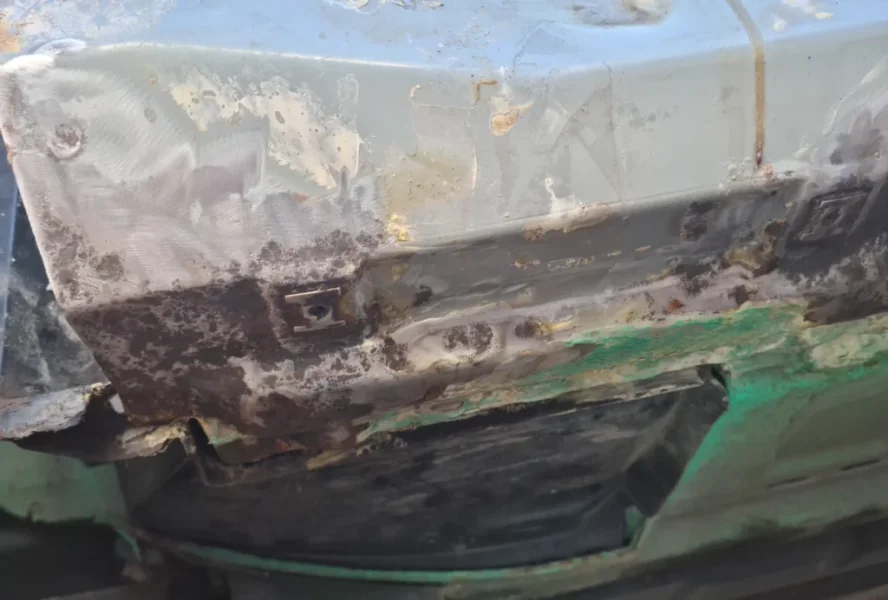
Squirt some hot waxoyl in there before you paint and reseal it.
If you’re tempted by s/h migs Matt completely discount SIP Migmates, or BOC Turbo migs, they’re rubbish, hopelessly inconsistent wire feeds.
If you’re tempted by s/h migs Matt completely discount SIP Migmates, or BOC Turbo migs, they’re rubbish, hopelessly inconsistent wire feeds.

)")